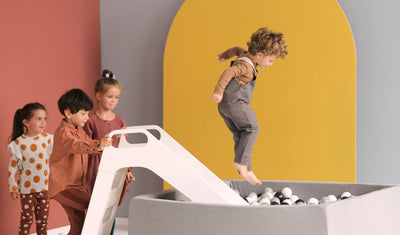

Creating Unforgettable Memories: DIY Ideas to Capture Precious Family Moments
Capturing and preserving family moments is a tradition that enriches our lives and strengthens family bonds. With a little creativity and a few simple materials, you can create unique memories that will last a lifetime. This article offers simple yet meaningful DIY ideas to immortalize your precious family moments while developing skills like fine motor skills in children. Let's dive into some fun and creative projects the whole family can enjoy and cherish.
Creating a Family Memory Book
A memory book, or scrapbook, is a wonderful way to collect photos, anecdotes, and artifacts that tell your family's story. Here's how you can get started on this creative project:
Materials needed:
- A blank album or spiral-bound notebook
- Decorative papers
- Safety scissors for children
- Glue, decorative adhesive tapes and markers
- Photos, tickets, children's drawings, and other small souvenirs
Steps to follow:
- Choosing a Theme: Decide on a theme or time period to document, such as summer vacation, a birthday, or your child's early years.
- Page Decoration: Let children decorate the pages with decorative paper and tape. Encourage them to draw or write their own comments about the events depicted.
- Memories Arrangement: Arrange photos and other mementos on the pages. Use glue to secure these items, then add handwritten descriptions or fun anecdotes.
- Personalization: Each family member can create their own page or section of the book. This gives everyone a chance to express themselves and personally contribute to the family memory.
Benefits for children:
This activity not only encourages creativity and self-expression, but it also helps develop fine motor skills, hand-eye coordination, and planning and organizational skills. Additionally, working together on a memory book can teach important values like collaboration and respect for each other's contributions.
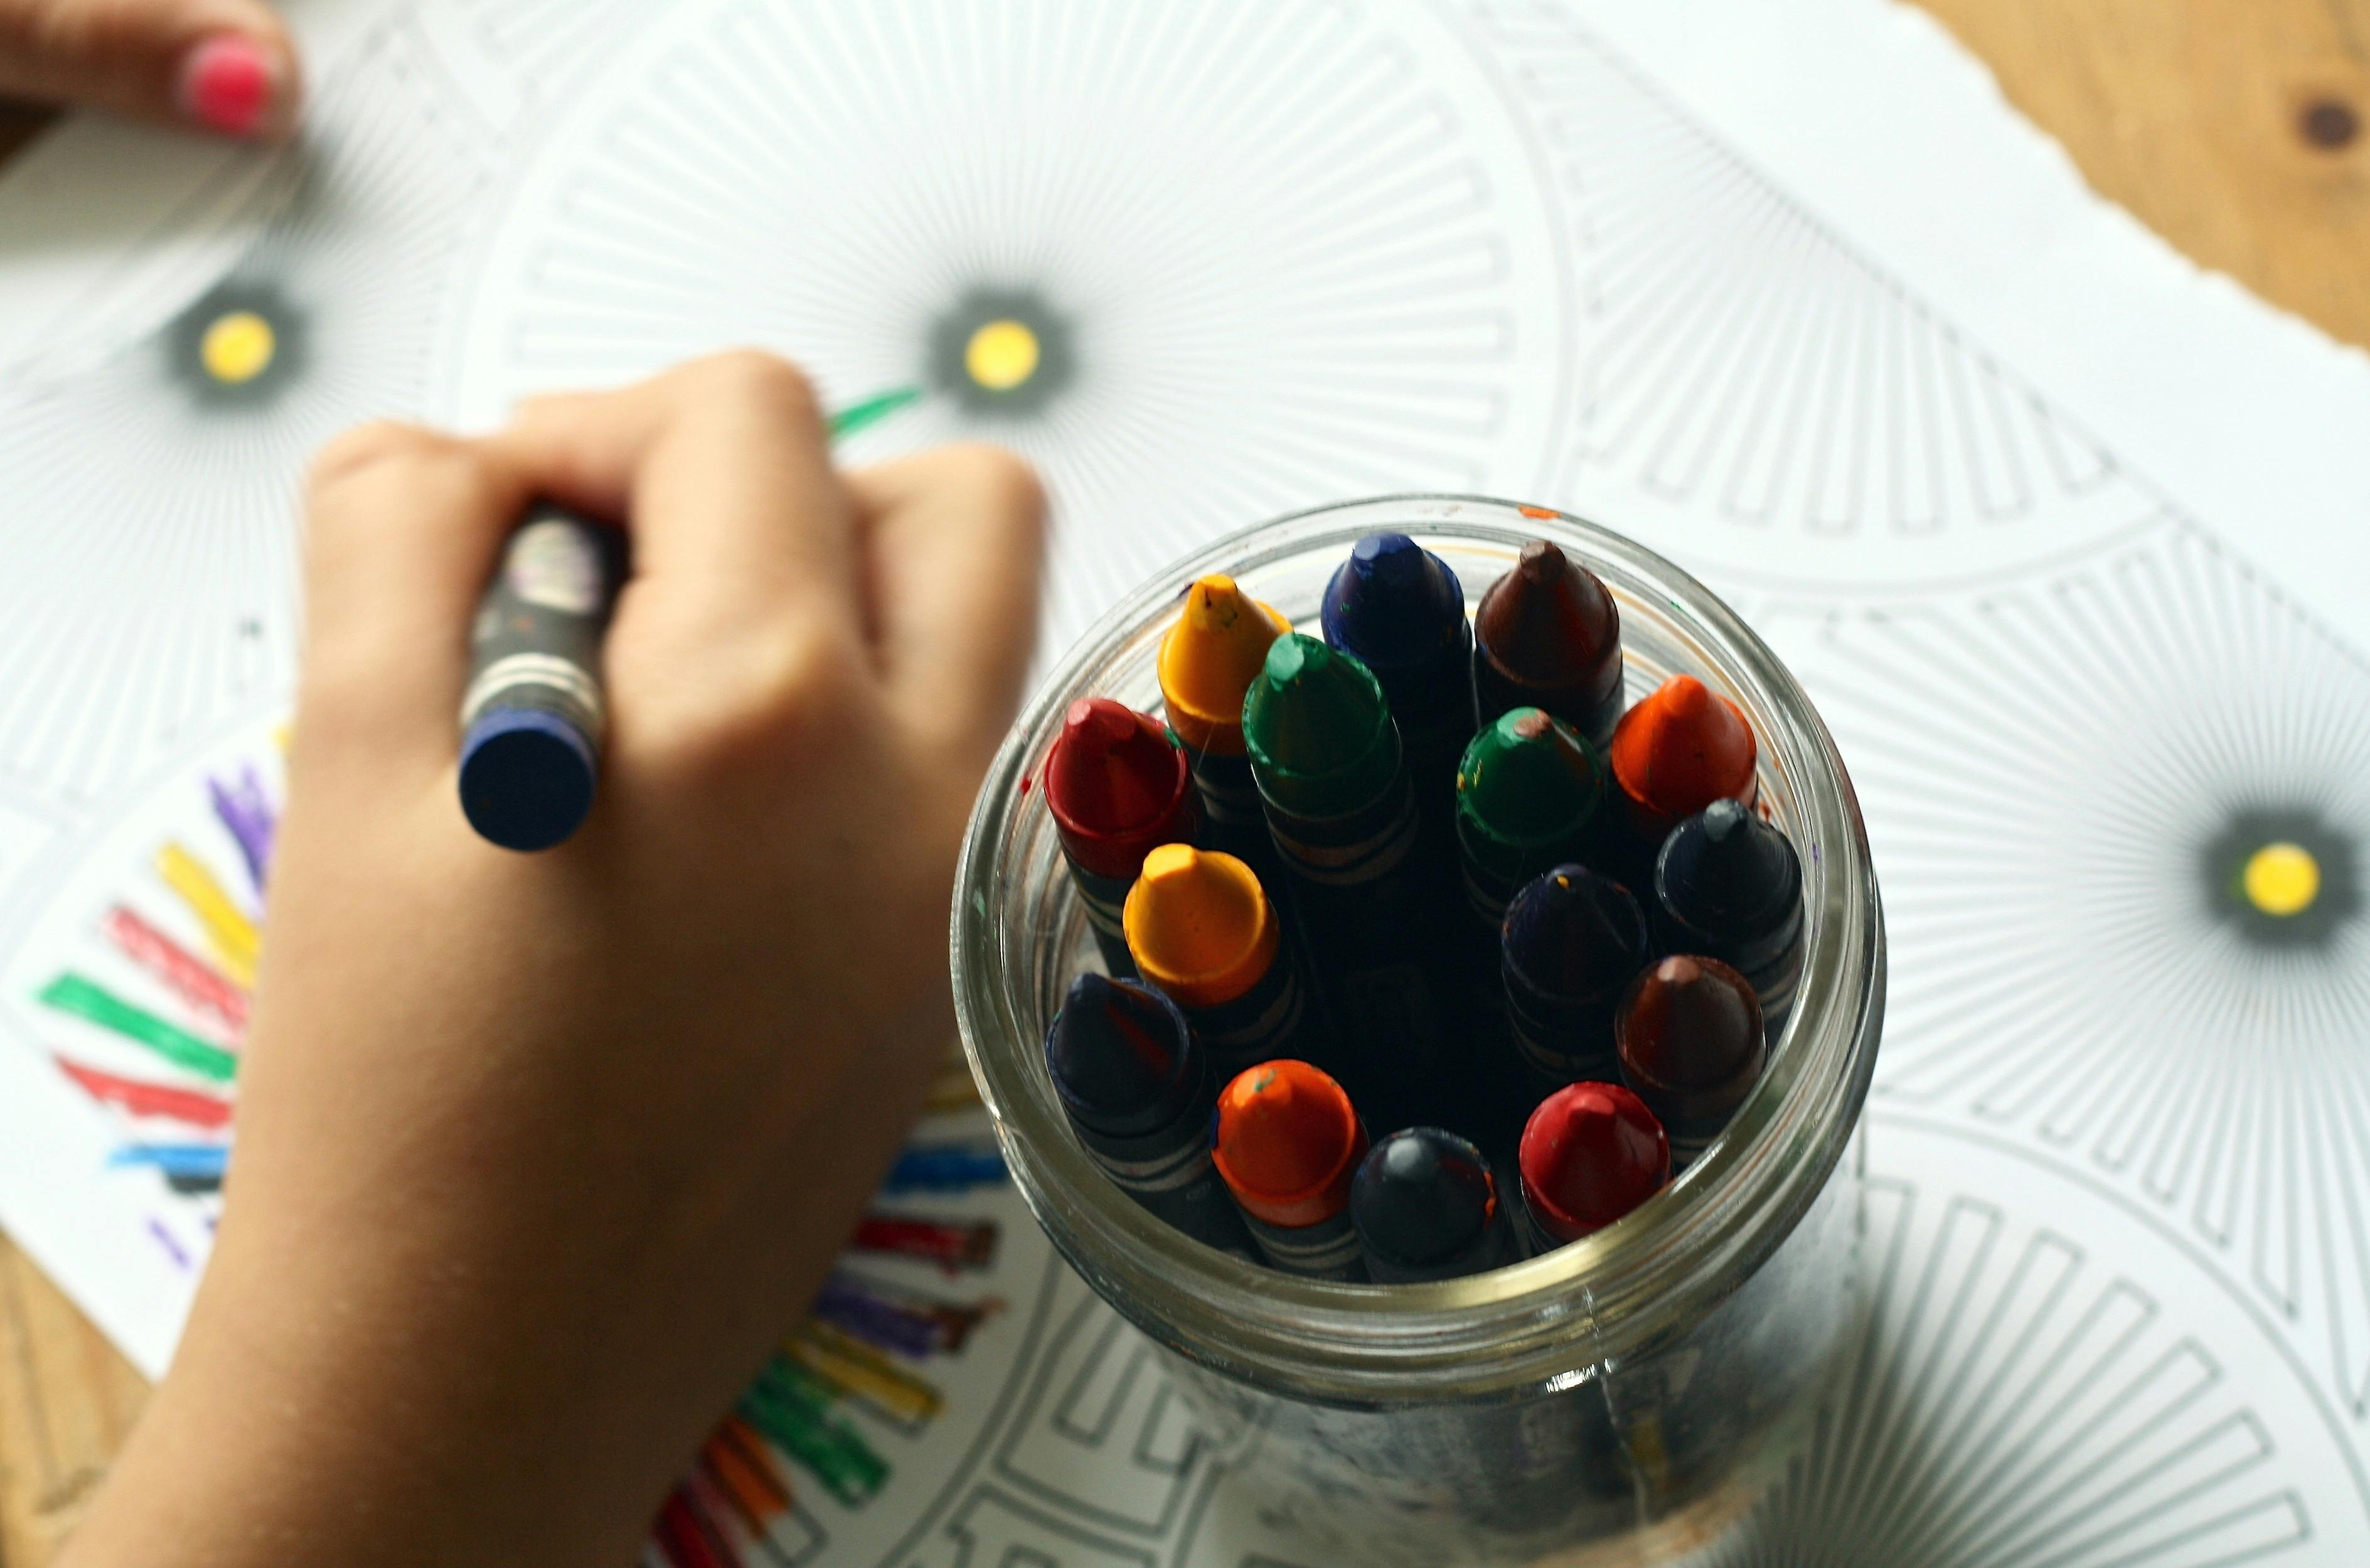
Clay hand and footprint prints
Clay handprints and footprints are timeless ways to capture a snapshot of your child's development, and they make great keepsakes or gifts for family members.
Materials needed:
- Natural clay or salt dough (you can make it at home with flour, salt and water)
- Rolling pin
- Paint and brushes
- Varnish (optional for finishing)
Steps to follow:
- Clay Preparation: Knead the clay or salt dough well until it is soft and easy to handle. Roll it out on a flat surface with a rolling pin to the desired thickness.
- Creating the prints: Ask your child to gently place their hand or foot on the rolled-out clay to leave a clear print. Make sure each finger or toe is clearly marked to capture all the details.
- Cutting and Baking: Use a knife or cookie cutters to cut around the print. Poke a hole in the top if you want to hang the print. Let air dry or bake according to your clay or salt dough instructions.
- Decorating: Once the print is dry and hard, let the children paint it. They can add details like eyes, names, or dates to personalize their creation.
- Varnishing: Apply a varnish to protect the work and give it a beautiful shine.
Benefits for children:
This activity is excellent for fine motor skills, as it requires precision and attention when shaping the clay and painting the details. It also stimulates creativity and provides a great opportunity to talk about the passage of time and growth.
Personalized photo frame
Customizing photo frames is a creative activity that allows you to showcase family photos while adding a personal touch to your home decor.
Materials needed:
- Simple photo frames
- Paints, brushes, and various decorations (sequins, buttons, shells, etc.)
- Strong glue (suitable for the materials chosen for decoration)
Steps to follow:
- Frame selection: Choose a simple frame that can be easily decorated. Natural wood frames are particularly suitable because they can be easily painted or glued.
- Decoration: Let your child paint and decorate the frame. Encourage them to use materials that have special meaning to them or that match the photo that will be placed in the frame.
- Assembly: Once the paint and decoration are dry, assemble the frame and place a chosen photo inside.
Benefits for children:
This project helps develop fine motor skills and artistic expression. It also encourages children to think critically about design and decorating, and it makes them proud to see their work displayed at home.
Creating memories through DIY projects is a wonderful way to spend quality time with family while developing important skills in children. Each project described here offers a unique opportunity to capture life's moments in a creative and meaningful way. Encourage your children to participate in these activities and observe not only their joy in creating but also their pride in contributing to family memories.


